Limited-time offer! Unlimited Residential Proxies: Up to 50.80% OFF | Just 0/Day
User Guide
Tips for using caching proxy with 911proxy
2025-06-18 14:16
1. Overview
The cache proxy function can reduce unnecessary load on the target site: customers can cache successful results and obtain cached results as much as possible. After enabling the proxy cache, the system will prioritize searching for cache. If the new request is the same as the old request within the current calendar day, the cached data will be directly provided instead of being obtained from the target website. Cached data retrieval is faster, and enabling this function can also enjoy certain discounts. Cache access certificates need to be installed and configured before use.
2. Steps
2.1 window
Step 1. Visit the official website ( https://www.911proxy.com/zh-hans/centre/proxy/extract/ ) to download the proxy certificate Click to download .

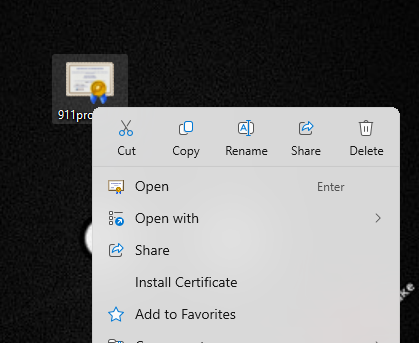
Step 2. Right - click the certificate file and select "Install Certificate".
Step 3: In the Certificate Import Wizard, select "Current User" and click "Next".

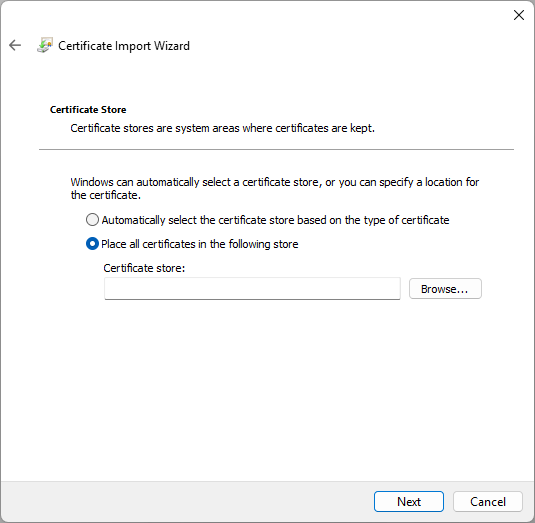
Step 4. Select "Place all certificates in the following store" and click "Browse".
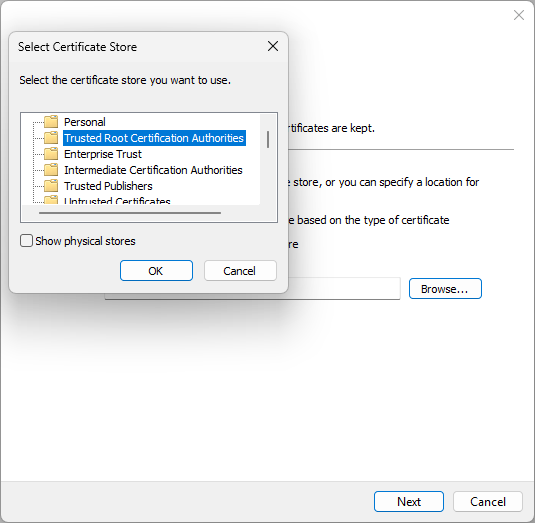
Step 5. Select "Trusted Root Certification Authorities" and click "OK".
Step 6. Click “Next” and then “Finish”.

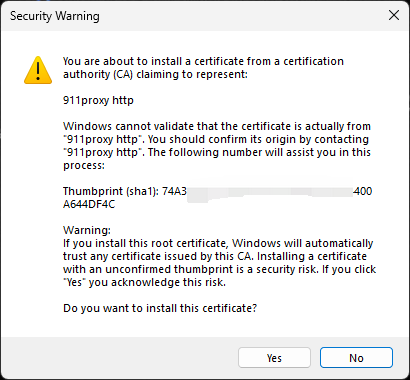
Step 7: If a security warning appears, click "Yes" to confirm the installation.
2.2 Linux
Step 1. Visit the official website ( https://www.911proxy.com/zh-hans/centre/proxy/extract/) to download the proxy certificate Click to download.
Step 2. Execute the following commands to move the certificate and update the system trust:
sudo mv ./911proxy.crt /usr/local/share/ca-certificates/
sudo update-ca-certificates
2.3 Mac
Step 1. Visit the official website ( https://www.911proxy.com/zh-hans/centre/proxy/extract/) to download the proxy certificate Click to download
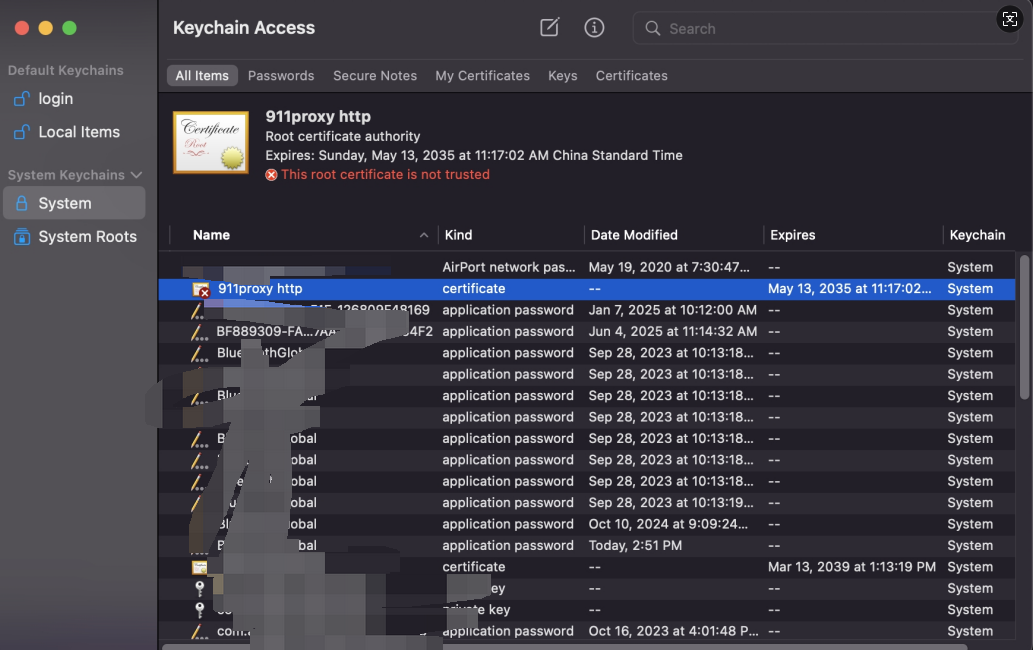
Step 2 Open "Keychain Access", select the "System" keychain in the upper left corner, and set the category to "Certificates".

Step 3. Drag the certificate into the keychain or click "File > Import Items" to import it.
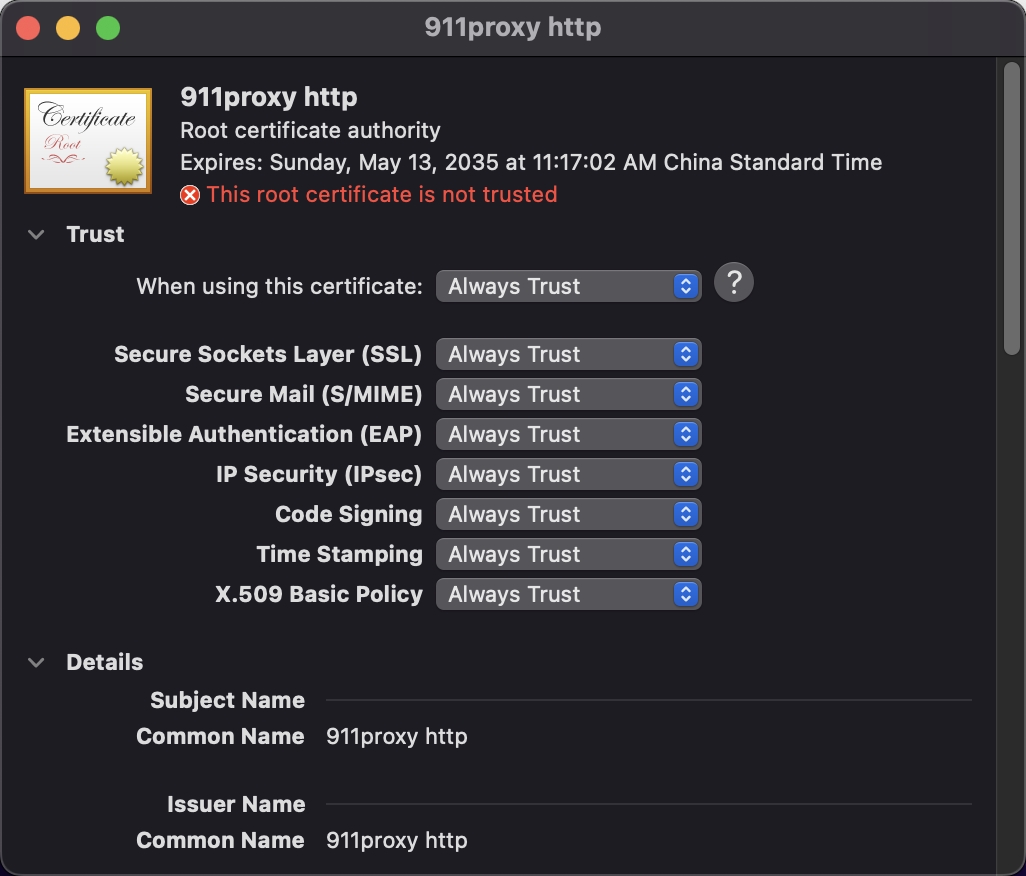
Step 4 Double - click the imported certificate, expand the "Trust" option, set "When using this certificate" to "Always trust", and close the window.

Step 5 The system may prompt you to enter the administrator password for authorization.
Step 6 Visit the target website and confirm that the certificate is no longer invalid.
1、 Overview
2.1、 Windows
2.2、 Linux
2.3、 Mac